Rainbow Surprise Cake Recipe
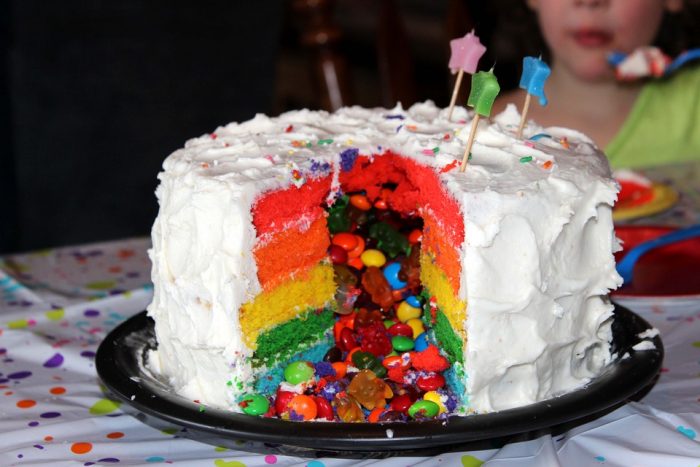
The thing that is generally expected to be one of the peaks of a party – and cause an outburst of cheers and hoorays from both young boys and girls and mellower boys and girls – is the cutting up of the cake. This is the moment that draws the attention of everyone present, including photographers. And what if everyone gasps when the cake is open because more sweeties pour out, with you wielding the knife and smiling broadly? Won’t you get the attention you have richly deserved for putting in the good work for capping the holiday or the birthday with this marvel of a cake?
So you have come round to deciding to try your hand at Rainbow surprise cake with the American candy filling – do you have to get a lot of ingredients? Not quite. What would it be? Let’s check.
- 1 white mix for cakes to be found in any nearby store;
- special spray;
- buttercream frosting, 2 batches or 2 pounds if you buy at the store;
- for the bright effect you need food coloring (you can do with red, green, yellow, and blue that can be mixed, but you may want to match the colors to the occasion, so it’s really up to you, the day, and your artistic talents);
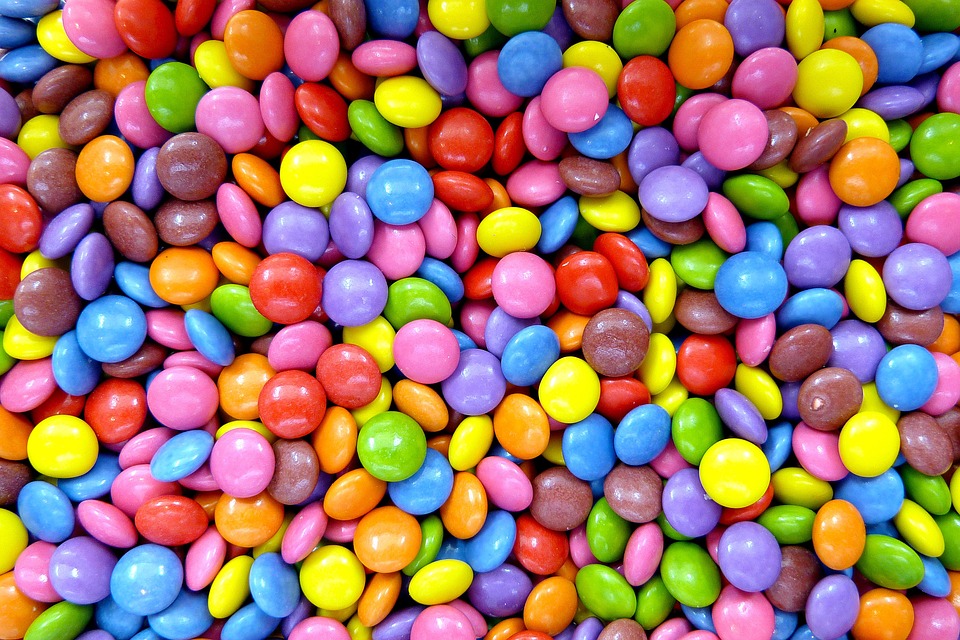
- then you want that impressive filling and probably decorations for the top – candy, chocolates in candy or sprinkles of multiple varieties, a cup should be enough.
Now look around your kitchen.
- You will need round cake pans, the 6-inch sort, probably 5, but you can make do with 2 or even 1 using them more than once;
- a round cookie cutter, or, if you haven’t got one, a 2-inch-diameter glass;
- a spatula for managing your frosting.
O.K., now you are ready and we can get busy baking.
- Get the oven heated, but not to the temperature specified in the directions on the box, but to 25 degrees less.
- Use the cooking spray on the pans.
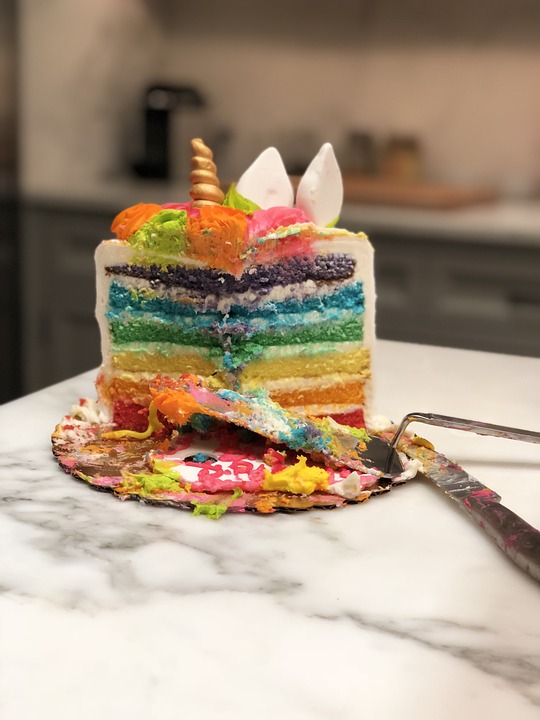
- Now divide the mixed cake batter into 5 portions to be placed in 0.5 cup bowls. Mix in food coloring different for each bowl getting the desired hue. Pour the contents of each cup into the sprayed cake pans so they are half-filled.
- They are ready for baking now – bake for 20 minutes or so; make sure they are firm and of nice golden color. Don‘t remove the layers until they have cooled down. Then chill them further putting them away into the fridge for a couple of hours or more.
Got the cakes ready and nicely chilled? Time to put things together into one powerful tower of all things sweet!
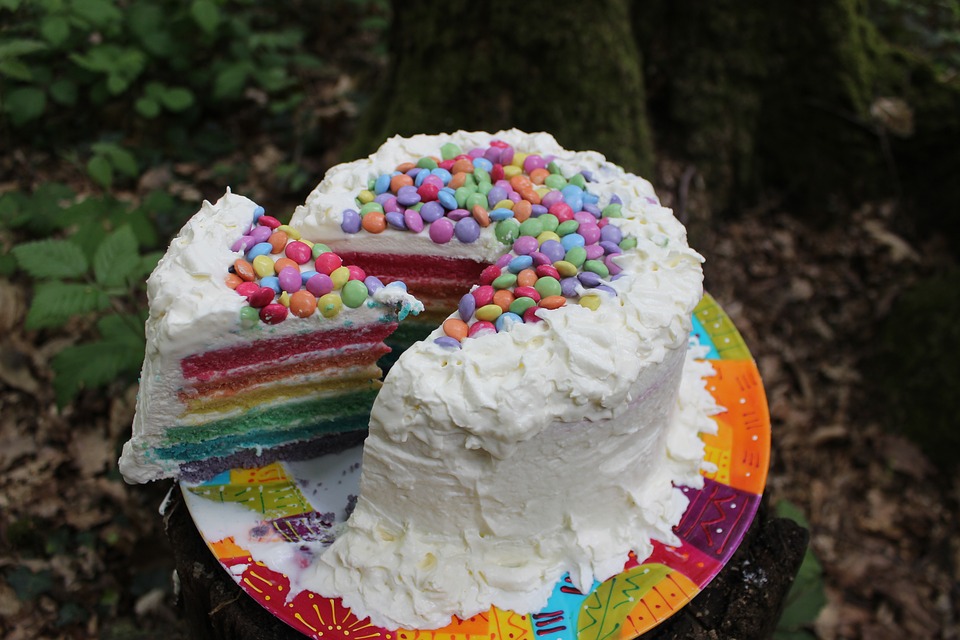
- Get a serving plate and put the foundation layer on, have the top frosted. Then cut out the inside of the other layers with a cookie cutter or a small glass; mind you don’t cut a hole in the foundation layer.
- Begin placing the layers with holes on the frosted foundation layer, frosting each of them before placing another. You will have a well-frosted cake with a well running down in its center.
- When you have mounted all of them on top of one another, make a nice tasty mixture of your American candy and/or sprinkles and fill the well with the goodies.
- Top the cake with the upper layer. Now it is ready for some more chilling – put it into the fridge for about half an hour and frost it again.
- Take the chilled cake out of the fridge to cover it with a crumb coating. Then let it chill again for half an hour more.
Cover the cake with one more layer of frosting and keep it in the fridge until you are sure the frosting is properly set (it can take 15 minutes or a little more). Then you can decorate the cake with sprinkles, suitable lettering, images, whatever you fancy. If you are not going to serve it immediately, keep it chilled until you are.
Even if you have already gotten credit for one such delicious wonder, you can score yet more points with different exterior design and with a great variety of goodies and candies you can use for the filling. There’s another party or birthday coming soon, isn’t there?


